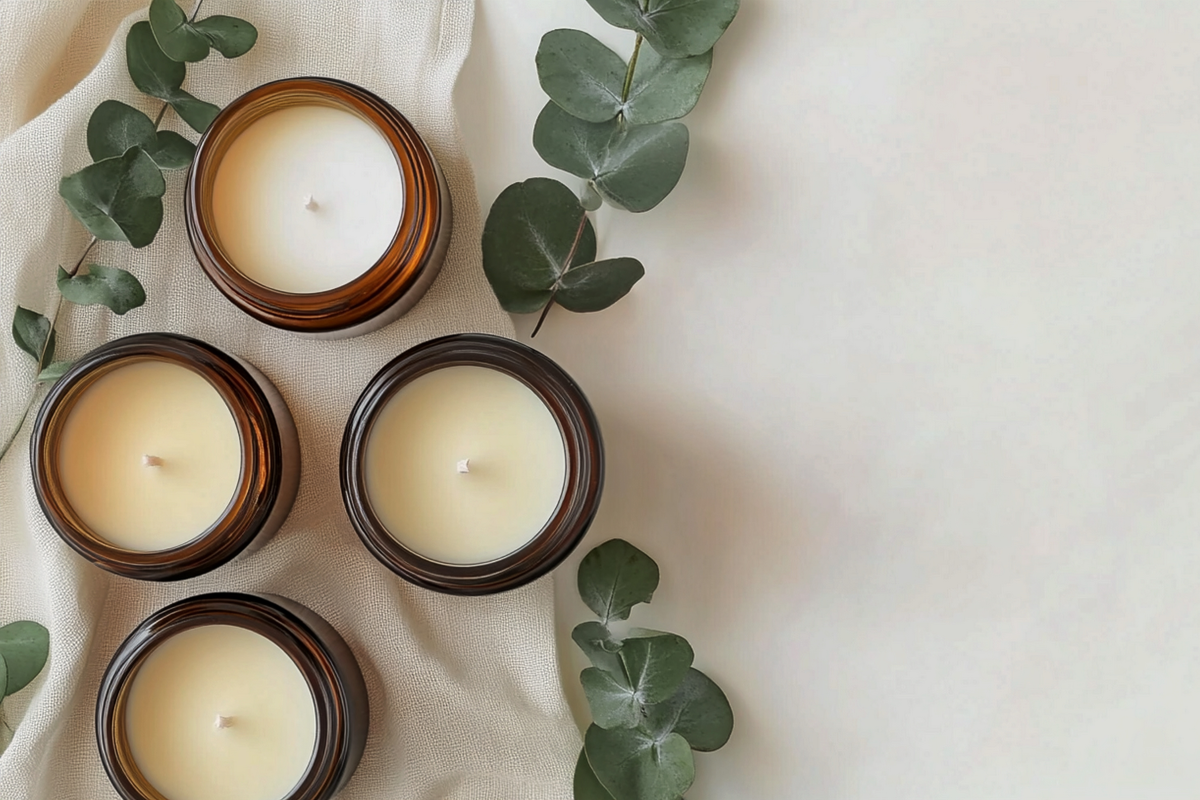
How to Burn a Candle Cleanly Every Time
The Right Way to Use a Wick Trimmer & Snuffer
Your guide to a longer-lasting, cleaner, and more beautiful burn — every single time.
If you’ve ever lit a candle and watched it tunnel, flicker, smoke, or burn unevenly, you’re not alone. Most candle issues come from how we burn them, not the candle itself. The good news? A few small habits can completely change your experience — making each burn cleaner, safer, and longer-lasting.
Whether you’re new to candles or a full-on home-fragrance lover, this guide walks you through the exact steps to burn a candle like a pro — including when to use a wick trimmer, why a snuffer matters, and how to protect your candle’s scent and jar.
1. The First Burn Matters Most
When lighting a brand-new candle, always let the wax melt all the way to the edges of the jar before extinguishing the flame.
This prevents tunneling, where wax builds up along the sides and shortens your candle’s lifespan.
Aim for:
-
🕯️ A full melt pool (edge to edge)
-
⏱️ 2–4 hours, depending on jar size
Why it matters:
Wax has a “memory.” The first burn teaches it how far to melt every time after.
2. Trim Your Wick Before Every Burn
This is the step most people skip — and it’s the main cause of smoky jars and tall, uneven flames.
Before relighting your candle:
-
Trim the wick to ¼ inch (6–7 mm)
-
Remove any mushrooming or loose ash
-
Keep the area around the wick clean
A wick trimmer makes this easy by reaching the base of the jar and catching debris. Scissors can work, but expect a bit of mess.
✨ Result: A calmer flame, cleaner glass, and a safer burn.
3. Use a Candle Snuffer to Extinguish the Flame
Blowing out a candle can push soot back into the wax and create smoke. A candle snuffer extinguishes the flame cleanly without disturbing the wick or scent.
Benefits of a snuffer:
-
✔ No smoke cloud
-
✔ Wick stays centered
-
✔ No wax splatter
-
✔ Extends candle life
No snuffer? Gently dip the wick into the melt pool using a wick dipper or tool, then lift it back up. This resets the wick and makes the next light easier.
4. Keep the Wax Clean & Draft-Free
Dust, soot, and pet hair can affect scent throw and burn quality. Keep your candle covered between uses and away from airflow.
Best practices:
-
✔ Place candles on heat-safe surfaces
-
✔ Keep away from vents, windows, and fans
-
✔ Store with a lid when not burning
5. Know When It’s Time to Retire Your Candle
Stop burning when about ½ inch of wax remains. This protects both the jar and your surfaces from excess heat.
At Isle of Rose Candle Co., our jars are intentionally reusable. Clean them with hot water and dish soap, then repurpose them for storage, flowers, makeup brushes, or pantry items.
Candle Care Tools We Recommend
The right tools instantly elevate how your candles perform:
-
Wick Trimmer — for a clean, controlled flame
-
Candle Snuffer — extinguishes without smoke
-
Wick Dipper — melts and resets wick angle
-
Lidded Storage — protects wax and scent between burns
Ready to Experience a Cleaner Burn?
Explore our clean-burning, hand-poured soy candles — all made in small batches on Vancouver Island.
✨ Plant-based. Lead-free wicks. No phthalates. Always family-run.
➤ Wick Trimmer — for a controlled, soot-free burn
➤ Candle Snuffer — extinguish without smoke or soot
Turn your next burn into a ritual, not a risk. 🕯️

Leave a comment
This site is protected by hCaptcha and the hCaptcha Privacy Policy and Terms of Service apply.